
Use the Report Manager page to manage all of the reports included in your Reserves instance. You will be able to:
- Create reports
- Add comments to your reports
- Create templated reports
- Edit preexisting reports
- Delete reports
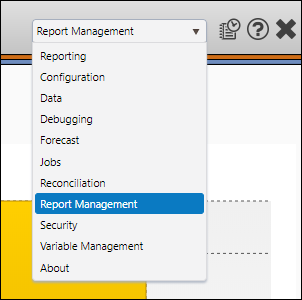
- Select Report Management from the Navigation Toolbar.
- Click on the Reports tab, and then the Report Manager page.
Create a Templated Report
This feature is intended for power users only. You might repeatedly run a certain report with the exact same report option values. Rather than expecting the user to repeatedly input these same values, a power user may create a templated report.
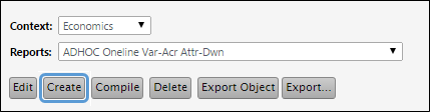
- Select the context you want to add a templated report to using the Context drop-down menu.
- Click the Create button.
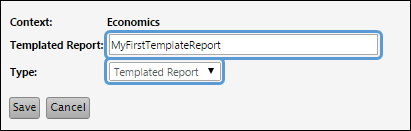
- Enter a name for your templated report in the Templated Report field.
- Select Templated Report from the Type drop-down menu.
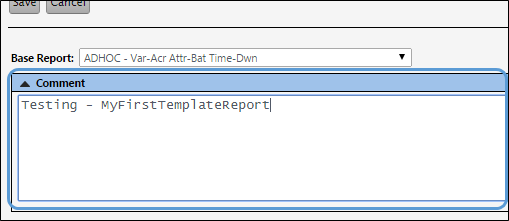
- Use the Base Report drop-down menu to select the report used to create your template.
- (Optional) Expand the comment field to input a description for your templated report.
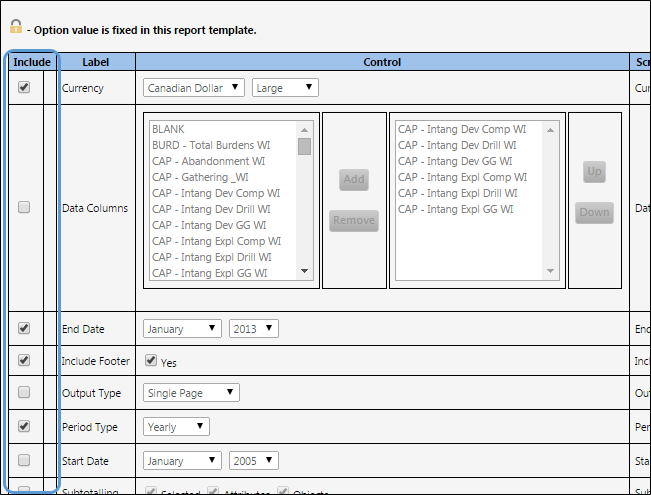
- Enable the chexboxes next to all of the report options that should be predefined in the template. Set the values for these report options.
- When you have finished modifying your report, click the Save button.
Click image to expand or minimize.
Click image to expand or minimize.
Add Report Options to Reports
Once you have created report options using The Option Definition Page, add them to your reports by following these steps:
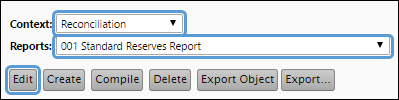
- After you access the Report Manager page, select a context using the Context drop-down menu.
- Select the report you wish to add an option to using the Report drop-down menu.
- Click the Edit button.
- Click on the Report Options tab.
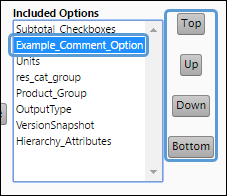
- Select the option you wish to add to your report in the Available Options list and click the Add button.
- The report option will be added to the Included Options list.
- When users access The Report Options Page, the report's options will appear in the same order as they appear in the Included Options list. To reorder a report's options, select an option you wish to reorder, and then use Top, Up, Down, and Bottom buttons to move it.
- When you have finished modifying your report's options, click the Save button. You will be prompted when your changes have been saved successfully.


Click image to expand or minimize.
Add Comments to your Reports
While creating or editing your reports, you can add comments to them. Report comments can be viewed by opening the Option Settings Popup on the Report Options page. To add comments to your reports, follow these steps:
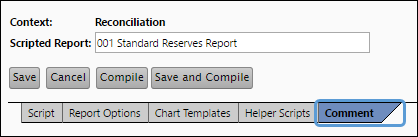
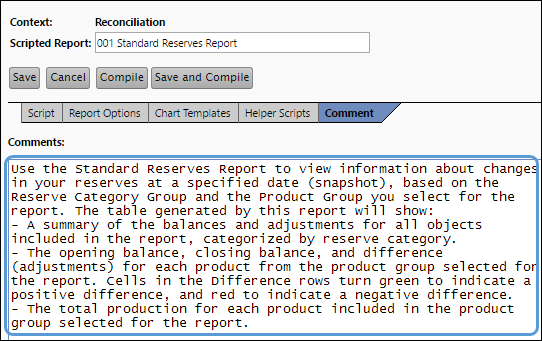
- After entering the create or edit modes, click on the Comment tab near the top of the screen.
- Add your report comments to the Comments field.
- When you have finished adding your comment, click the Save button.
Click image to expand or minimize.
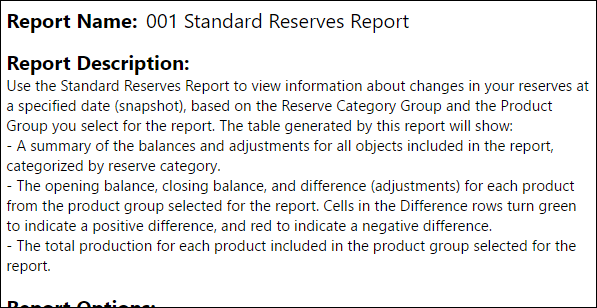
Now, each time users access The Report Options Page, they can view the comment by opening the Option Settings popup. To open the Option Settings popup, access the Report Options page, select the appropriate report, and then click on any of the comment icons ( ) next to the report's options, or the white comment icon (
 ) below the report's options.
Click image to expand or minimize.
Determine a Report's Logo Name
You have the option to add a logo to certain reports. To do so will require matching the name of the image you add to your report with the name that is coded into the report. You can determine the image name used in your report using this page. Follow these steps to do so:
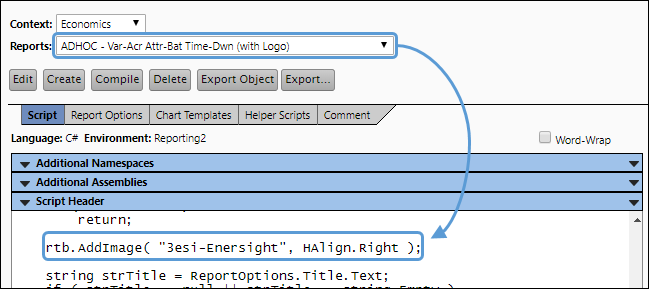
- After accessing the Report Manager, select the context in which your logo report exists from the Context drop-down menu.
- Select your logo report from the Reports drop-down menu.
- Locate the report's image name ("3esi-Enersight" in the image below). When you upload an image, you will need to match your Report Image name with the name in your report.
- Once you have determined your image title, you will need to upload an image using The Report Images Page.
Click image to expand or minimize.
Run a Templated Report
Once you have created your templated report, run it on The Report Page.
Create a Copy of a Report
You can create copies of your reports using The Report Copy Page.
Viewing Report Comments
Once comments have been added to your reports, you can view the comments on The Report Options Page.
Creating Report Comments
You can create Report Comments using The Option Definition Page.